Are you looking to create a professional envelope with your logo in Microsoft Word?
Look no further! In this article, we will guide you through the process step by step, allowing you to showcase your brand on every correspondence. Let’s dive in!

Step 1: Setting up the envelope.
To begin, open Microsoft Word and go to the “Mailings” tab.
Click on the “Envelopes” button to open the envelope setup window.

Step 2: Entering the recipient’s address.
In the envelope setup window, you will see fields to input the recipient’s and return address.
- You can type recipient address along with his name. Or simply use address book option.
- Similarly, you can type your address (optional) for return address (as in sender’s address).
- Fill in the desired information and make sure to double-check for accuracy.
- Now click on “Add to Document” to make an envelope page.
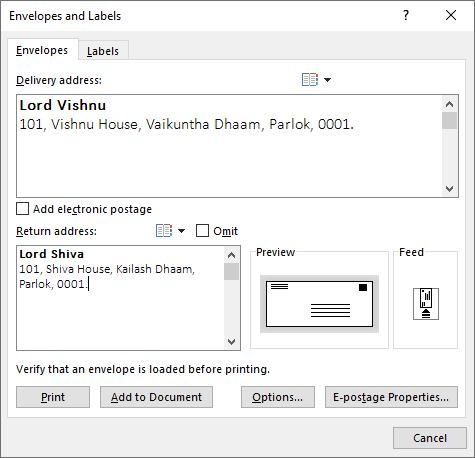
You can use bold, italic, and underline like shortcuts inside the input box to highlight names.
Step 3: Adding your logo.
Now, let’s add your logo to the envelope.
- Go to the “Insert” tab and click on “Pictures”.
- Choose the file containing your logo and click “Insert”.
- Resize the logo if needed by clicking and dragging the handles on the corners.
Make sure your logo is in PNG image format, and transparent if you want to mix it with backgrounds. I will recommend a 256×256 Pixels or 128×128 Pixels image.
Step 4: Adjusting logo position.
By default, Microsoft Word places the logo in the top left corner of the envelope.
However, we want to create a more aesthetically pleasing design.
- To do this, right-click on the logo and select “Format Picture”.
- In the “Format Picture” dialog box, go to the “Layout & Properties” tab.
- Click on “Advanced” and select the “Picture Position” tab. Here, you can adjust the placement of the logo to your desired location. I chose to set it on top left corner which is standard.
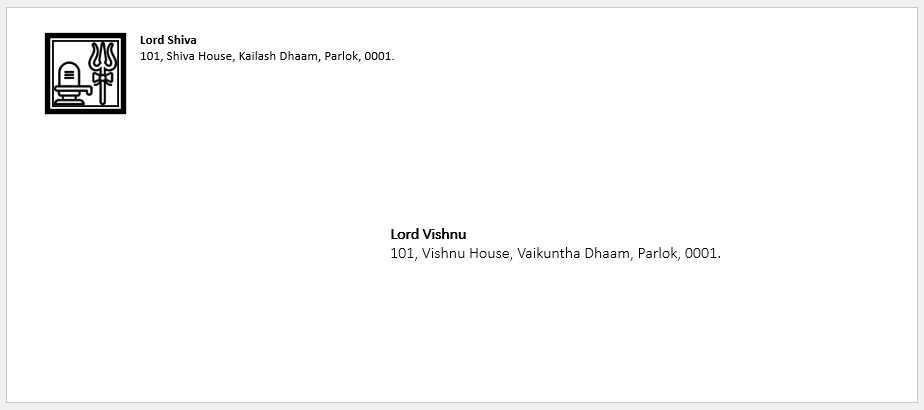
TIP: I’ll recommend keeping the logo on left side on top or any side at bottom, this is because post stamps are put on right top end. So do not position anything there as it could create a conflict.
Step 5: Customizing envelope size.
Microsoft Word automatically selects the default envelope size based on your input in the recipient’s address fields. However, if you prefer a different envelope size, click on the “Options” button in the envelope setup window. Choose a different size from the available options and click “OK”.
Step 6: Applying stylistic elements.
To make your envelope more visually appealing, you can apply stylistic elements such as colors, fonts, and borders. Select the desired text on the envelope, go to the “Home” tab, and use the options in the font and paragraph sections to customize the appearance.
Step 7: Finalizing the envelope.
Before printing, it is crucial to review your envelope thoroughly. Ensure all the information is correct, including the recipient’s address, logo placement, and styling. Make any necessary adjustments, and when you are satisfied, click on the “Print” button in the envelope setup window.
Conclusion.
Creating an envelope with a logo in Word is a straightforward process that allows you to add a touch of professionalism and branding to your correspondence. By following these step-by-step instructions, you can effortlessly design custom envelopes to showcase your logo. Impress your recipients and elevate your brand image with personalized envelopes created right within Microsoft Word!
Leave a Reply